Large, heavy-bottomed pot or Dutch oven (for even heat distribution)
Deep-fry or candy thermometer
Tongs
Wire rack set over a baking sheet (for draining)
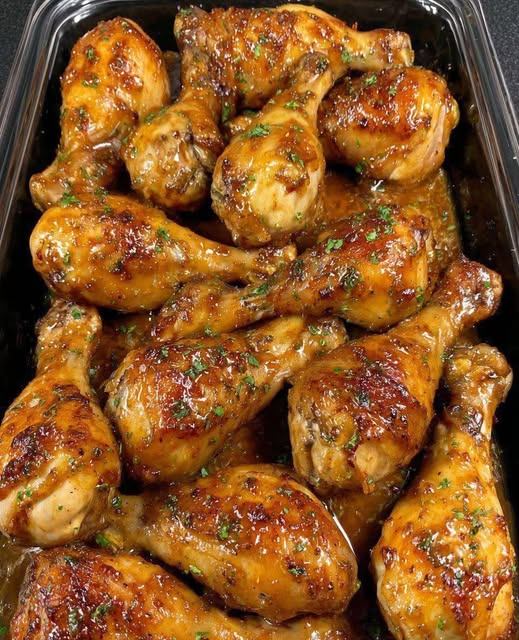
Yummy Fried chicken
Instructions
1. Marinate the Chicken (The Key to Juiciness)
Prep the Brine: In a large bowl or resealable plastic bag, whisk together the buttermilk, hot sauce, 1 Tbsp salt, and 1 tsp pepper.
Add Chicken: Place the chicken pieces into the brine, ensuring they are fully submerged.
Marinate: Cover the bowl or seal the bag and refrigerate for a minimum of 3 hours, or ideally, overnight (up to 24 hours) for the most tender and flavorful result.
2. Prepare the Coating and Set
Mix Dry Ingredients: In a wide, shallow dish, whisk together the flour, cornstarch, paprika, garlic powder, onion powder, cayenne pepper (if using), 1 Tbsp salt, 1 tsp pepper, and baking powder until well combined.
Create “Craggy Bits” (Optional Pro Tip): This step creates the signature bumpy, super-crispy crust! Spoon 2-3 tablespoons of the buttermilk brine directly into the seasoned flour mixture. Use your fingers to rub and pinch the flour, creating pea-sized, moisture-filled clumps.
Dredge the Chicken: Remove 3-4 pieces of chicken from the buttermilk brine, allowing the excess liquid to drip off slightly (do not pat dry).
Coat Thoroughly: Place the semi-wet chicken directly into the seasoned flour mixture. Press the flour firmly onto all sides of the chicken piece, ensuring it is completely coated. Shake off the excess flour.
Rest the Coating: Place the coated chicken pieces on a wire rack set over a baking sheet. Repeat with the remaining chicken. Allow the dredged chicken to rest for 15-20 minutes on the rack. This resting period is crucial as it allows the coating to fully hydrate and adhere to the chicken, preventing it from falling off during frying.
3. Fry the Chicken
Heat the Oil: Pour the oil into your heavy-bottomed pot or Dutch oven to a depth of about 1 1/2 to 2 inches. Heat the oil over medium-high heat until it reaches a consistent temperature of $350^\circ\text{F} (175^\circ\text{C})$ on your thermometer.
Fry in Batches: Carefully lower 3-4 pieces of the coated chicken into the hot oil using tongs. Do not overcrowd the pot, as this will drastically drop the oil temperature and result in soggy chicken. The oil temperature will drop slightly—try to maintain it between $300^\circ\text{F}$ and $325^\circ\text{F}$ by adjusting the heat as needed.
Cook to Golden: Fry the chicken for approximately 6-8 minutes per side, turning occasionally with tongs for even browning. Smaller pieces (wings, drums) will take about 12-15 minutes total, while larger pieces (thighs, breast halves) may take 15-20 minutes.
Check Doneness: The chicken is done when the crust is a deep golden brown and the internal temperature reaches $165^\circ\text{F} (74^\circ\text{C})$ when inserted into the thickest part (avoiding the bone).
Drain and Rest: Remove the cooked chicken with tongs and place it back onto the wire rack set over the baking sheet to drain excess oil. Sprinkle immediately with a little extra salt. The rack allows air to circulate, keeping the bottom crisp!
Repeat: Bring the oil temperature back up to $350^\circ\text{F}$ before frying the next batch. Serve hot and enjoy!
Continue reading by clicking the ( NEXT 》 ) button below !